Practical Guide to Get Started with TR-369


Are you curious about TR-369, the next-generation device management protocol? Whether you're evaluating alternatives to TR-069, building your USP testing infrastructure, or exploring the future of CPE and IoT management, getting hands-on experience is the best way to understand what it's all about.
In this guide, I'll walk you through the essential steps to deploy a USP controller and connect your first device. In a way that's practical and takes 5 minutes to set up.
Why USP? Why Now?
Before we jump into the technical steps, let's acknowledge why this matters. TR-369 (also called USP — User Services Platform) is the natural evolution of the 20-year-old TR-069 standard. It's designed to be real-time, more flexible, secure, and scalable.
If you're managing CPEs, IoT devices, or broadband equipment from multiple vendors, TR-369 gives you standardized control and visibility across your entire fleet. The protocol addresses modern challenges that TR-069 wasn't equipped to handle. Learn more
What You Need to Know for Today
Have some knowledge of Docker and CLI. If you know about network ports, general configuration, and Docker Compose, then it's even better. It will help you to troubleshoot if something doesn't move as expected.
For the sake of simplicity here, you basically have a Controller and an Agent. If you come from a TR-069 background, the Controller is the ACS, or if it's your first contact with BBF protocols, the Controller is the brain to manage your Agents, while the Agent is the CPE or IoT Device, being managed by the Controller.
Now, let's get hands-on and start to spin up our scenario.
Step 1: Install Oktopus (Your Controller)
Oktopus is an open-source USP Controller and TR-069 compatible multi-vendor management platform for CPEs and IoTs. If you'd like to skip this first step, create an account in the cloud-hosted Oktopus version.
Host Requirements
Your machine doesn't need to be enterprise-grade. Hardware can be 4gb RAM and 2 vCPU, no problem to use your daily laptop, a small Linux server, or cloud infrastructure, the key requirement is that you have Docker and Docker Compose installed. The beauty of containerization is portability; the same setup works on Linux, macOS, or Windows.
Docker Compose Deployment
You can have Oktopus running with a single command:
wget https://github.com/OktopUSP/oktopus/archive/refs/heads/main.zip && \
unzip main && \
cd oktopus-main/deploy/compose && \
COMPOSE_PROFILES=nats,controller,cwmp,mqtt,stomp,ws,adapter,frontend docker compose up -d
That's it. This command downloads the Oktopus repository, extracts it, and spins up all the necessary services (NATS, the controller, CWMP support, MQTT broker, STOMP, WebSockets, the adapter, and the web frontend) in one go. Docker will handle pulling the images and orchestrating the containers.
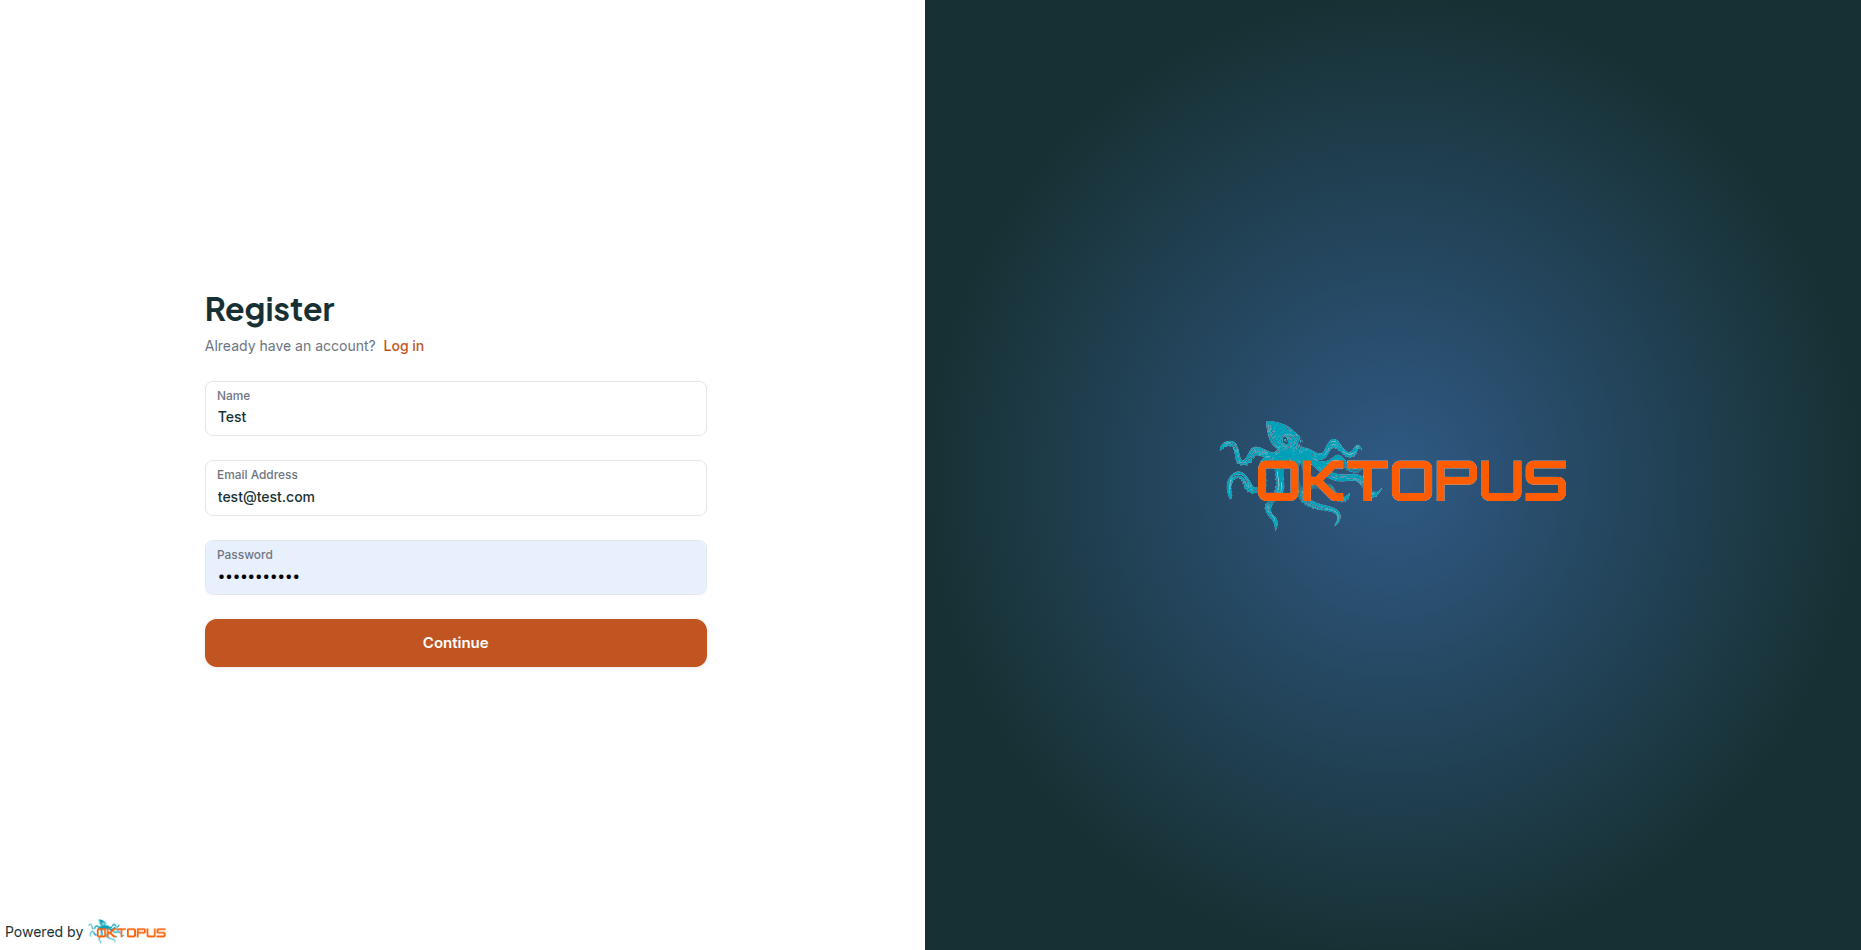
Create Your Login Credentials
When you first access Oktopus, it will prompt you to create an initial user account and password. This is your gateway to the web interface. Navigate to http://localhost (or your server's IP) and complete the registration. This one-time setup secures your controller so only authorized users can manage your devices.
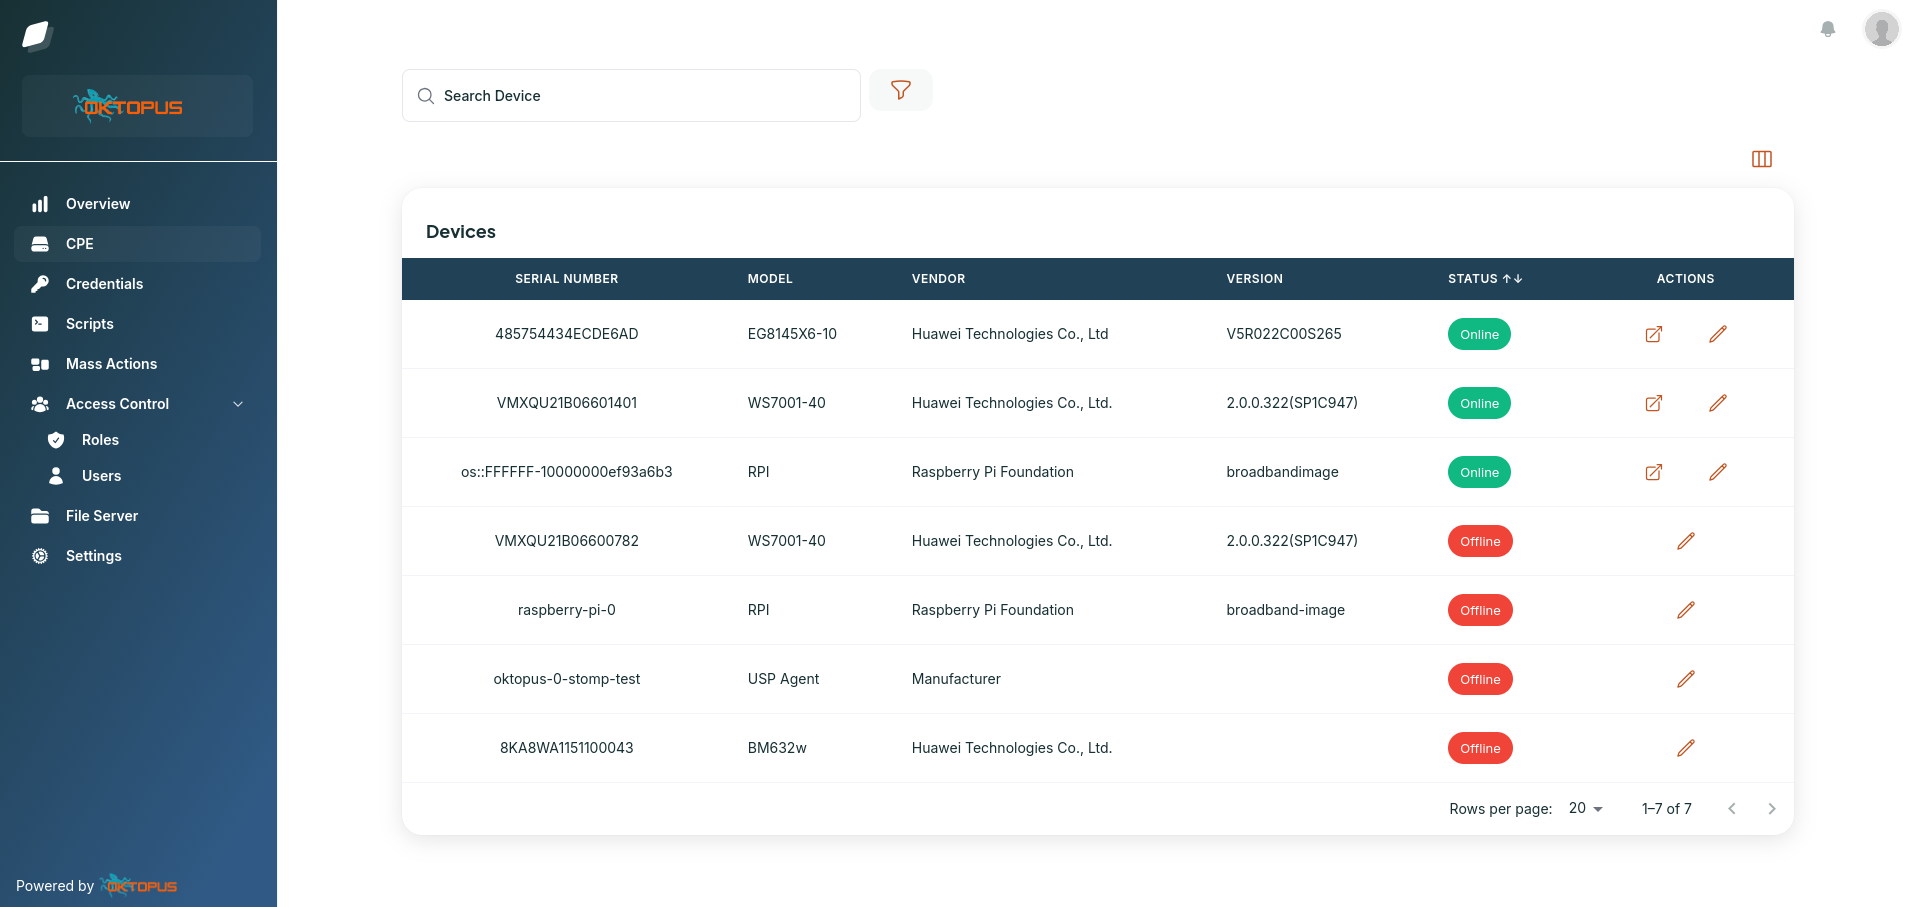
Step 2: Connect Your First Device
Once Oktopus is running, it's time to connect a device. You have a few options:
Option 1: Use the Oktopus OBUSPA Simulator (Recommended for Testing)
The easiest way to test Oktopus is to use the OBUSPA project, a reference for every USP agent deployment. In our case, it will work inside a Docker container for ease of use. This lets you mimic a real device without needing actual hardware.
To run the OBUSPA simulator with MQTT connectivity, run the following from the project root folder:
docker run -d \
  -v $(pwd)/agent/oktopus-mqtt-obuspa.txt:/obuspa/oktopus-mqtt-obuspa.txt \
  --network host \
  --name obuspa-mqtt \
  oktopusp/obuspa:latest \
  obuspa -r /obuspa/oktopus-mqtt-obuspa.txt -p -v4 -i lo
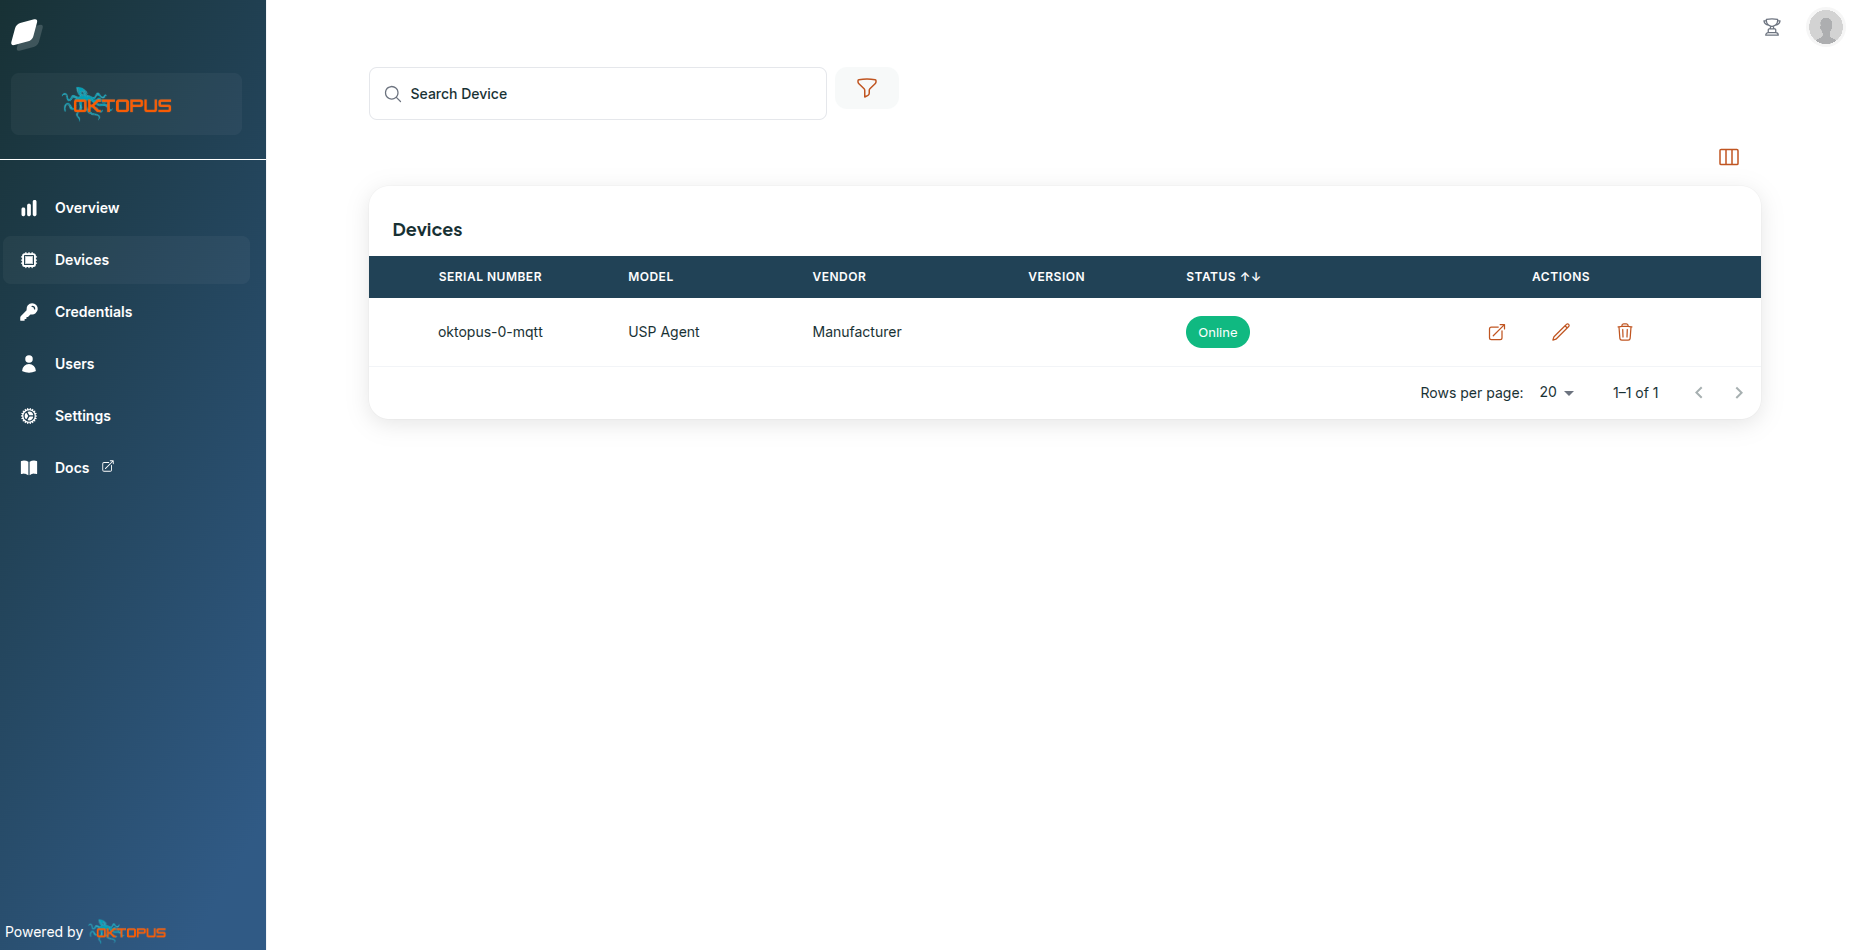
The OBUSPA simulator comes pre-configured with connection settings that automatically register with your Oktopus controller. It's the fastest way to see the system in action.
This option has some downsides, as you will only be able to see core parameters, without the option of Wi-Fi, WAN, LAN, Cellular, etc. Because the OBUSPA project does not emulate it, and you don't have these parameters implemented.
Option 2: Other Open-Source CPE Platforms
PrplOS: A flexible and modular open-source OS platform built on OpenWRT that leverages modern microservices and containerized applications. It enables seamless management, interoperability, and scalability for networking solutions.
RDK-B (Reference Design Kit - Broadband): The industry standard for broadband gateways. If your organization uses RDK-B-based devices, you can point them directly to your Oktopus controller.
OpenWRT: The popular open-source router OS. Designed for embedded devices, primarily wireless routers, to replace static manufacturer firmware with a fully customizable, writable system.
For guidance on how to set up remote management in these platforms, you can check: OpenWRT and PrplOS TR-x69 Configuration.
Option 3: Connect Real CPEs from Manufacturers
Many leading broadband equipment vendors are adopting the TR-369 standard in their products: Zyxel, TP-Link, Sagemcom, Genexis, AVM, and many others. Here's a list of devices I am aware of: Oktopus homologated TR-x69 CPEs. If you have a CPE from a manufacturer that supports USP, you can point it directly to your controller.
Step 3: Interact with Your Device in the Controller UI
Now for the a-ha moment. Log in to your Oktopus web interface, and you'll see your connected device appear.
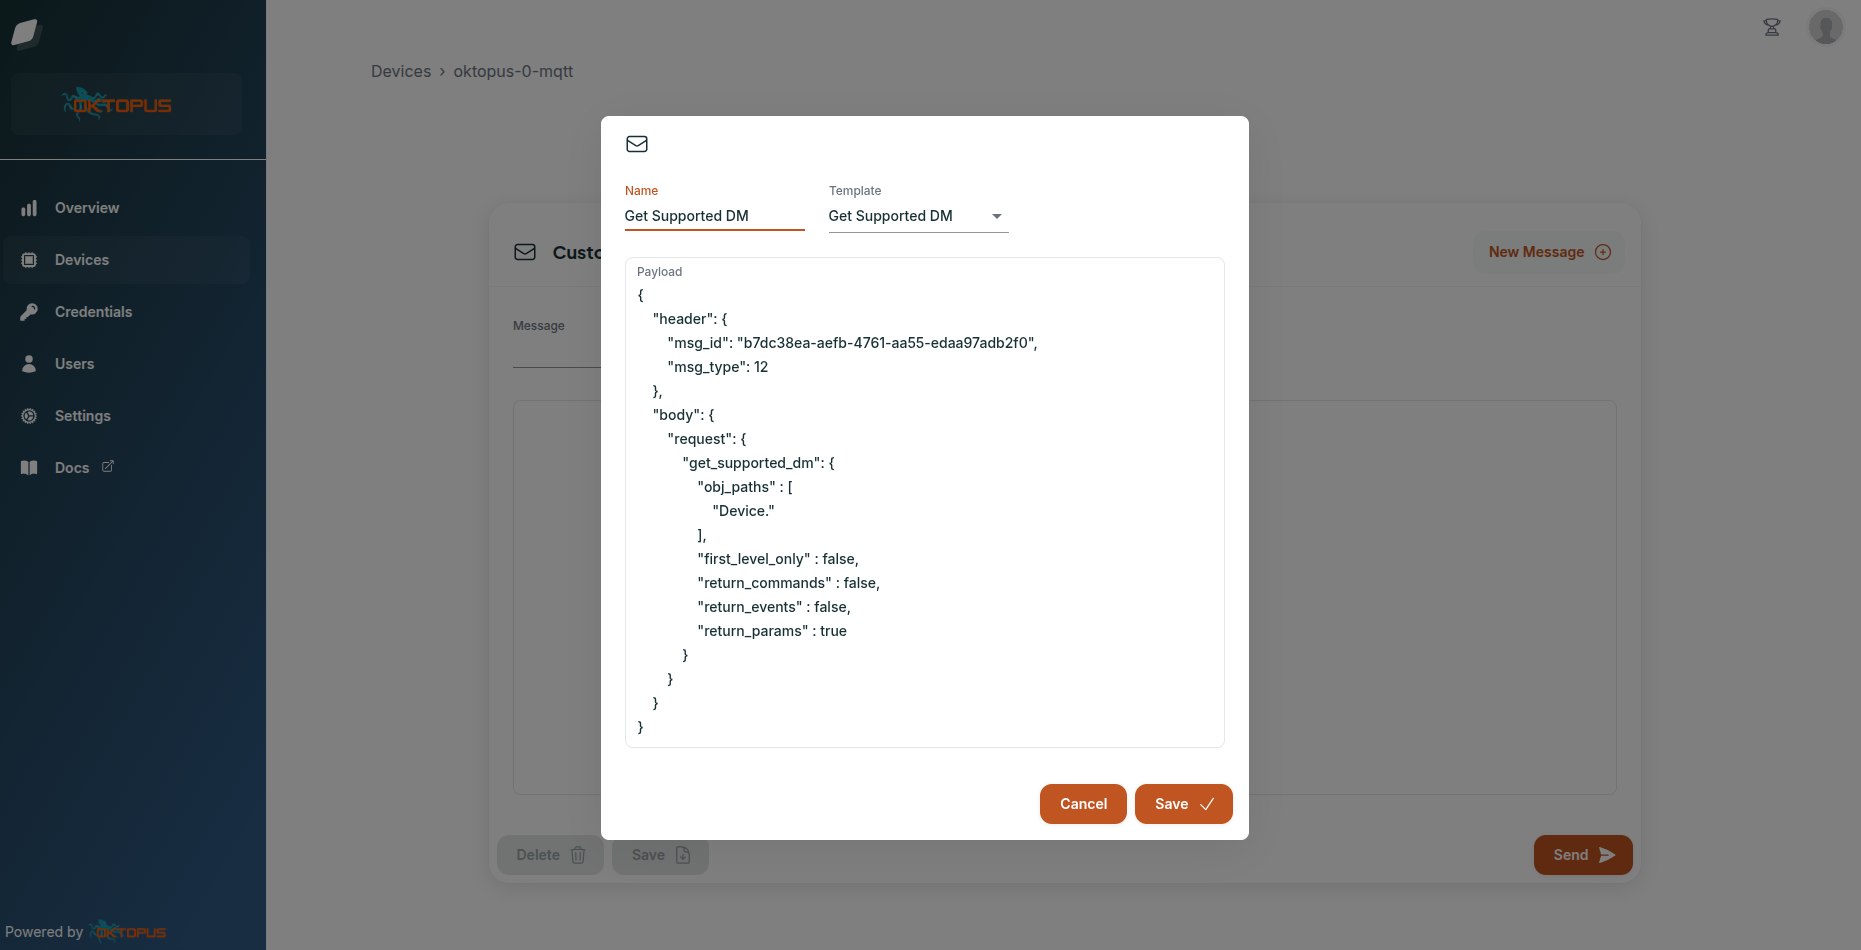
Send Messages
Send USP messages directly to your devices. Want to query device information? Change a configuration parameter? Reboot the device? It's all point-and-click from the web interface.
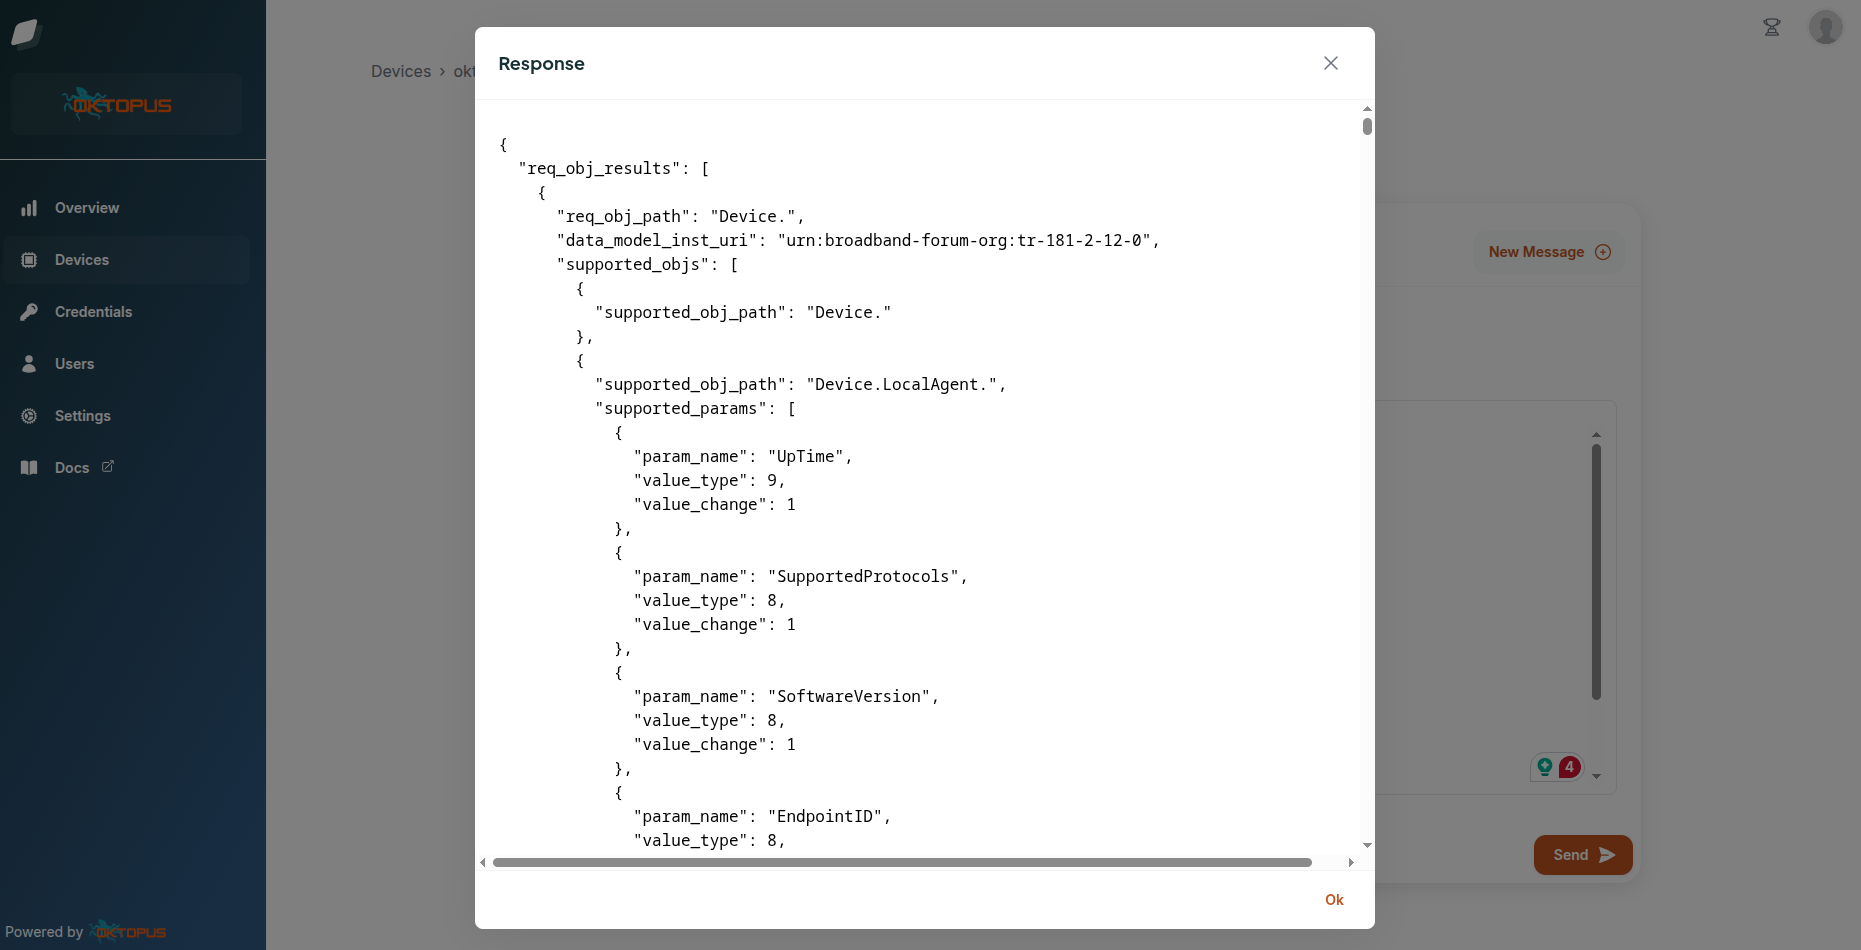
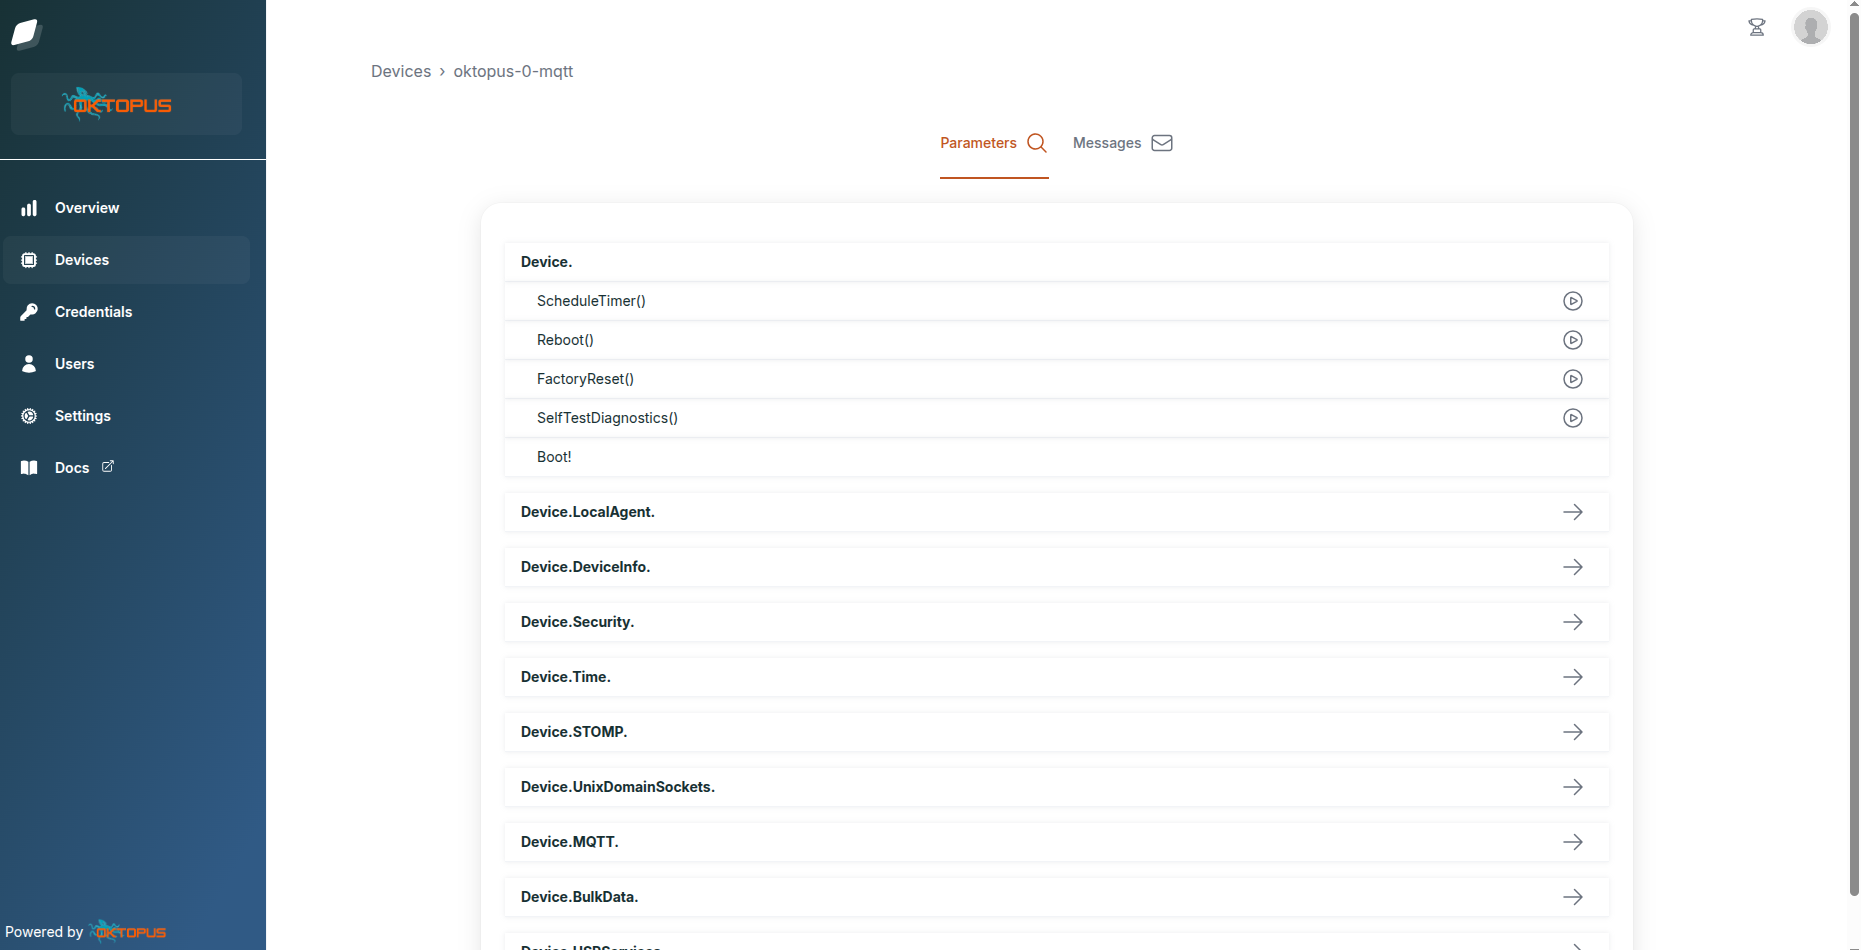
Discover Parameters
Automatically discover and display the parameters your device supports. The USP data model is standardized (TR-181), so whether you're working with equipment from different vendors, you get consistent parameter naming and structure. Browse the device's capabilities, understand what you can configure, and test in real-time.
Final Thoughts
TR-369 doesn't have to be intimidating. With modern open-source implementations and readily available simulators and CPEs, you can go from zero to a working device management setup in minutes. Getting hands-on experience is the best way to understand how the protocol addresses the limitations of its predecessor.
Whether you're evaluating TR-369 for your organization, preparing for a transition from TR-069, or just curious about the future of device management, this practical approach lets you learn by doing. The beauty of open standards is that you have choices, multiple controller implementations, multiple device vendors, and a growing ecosystem of tools.
Try it today, connect a device, and discover what TR-369 makes possible for your device management needs.
Useful Links:
Take control of your
network today
The world’s most widely used USP Controller and TR-069 ACS, with
enterprise-class features and no vendor lock-in.